Platform settings are available in the Settings module. The platform settings, as explained below, allow you to configure the institution's basic settings. The number of fields on this page may vary depending on the number of plugins made available to your institution.
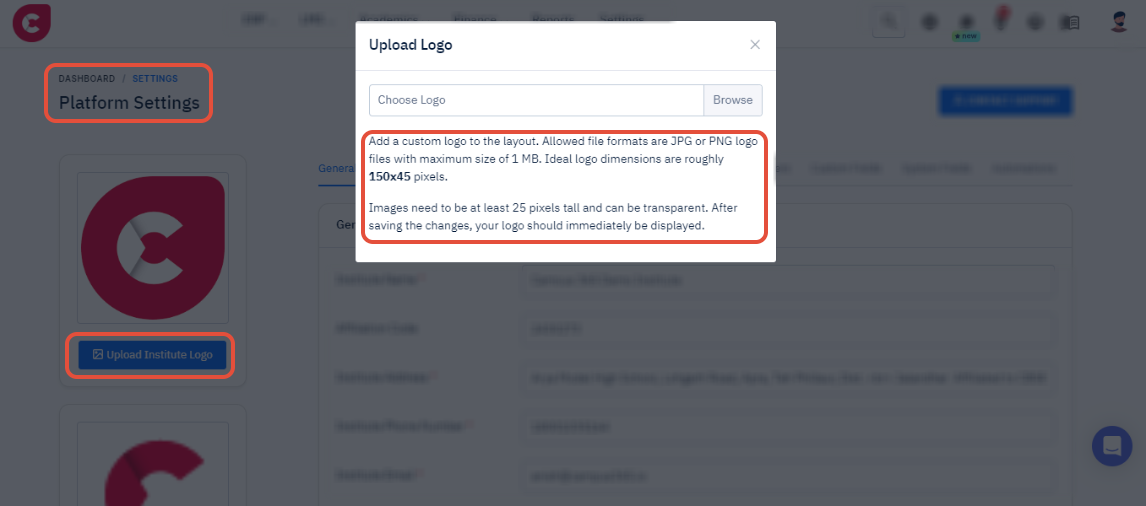
Logo
- Add a custom logo to the layout. Allowed file formats are JPG or PNG logo files with a maximum size of 1 MB. Ideal logo dimensions are roughly 150x45 pixels.
Favicon
- Add a custom favicon to your platform. Favicon is a small icon that appears to the left of the browser address bar and open browser tabs so users can easily distinguish your web application from other open pages.
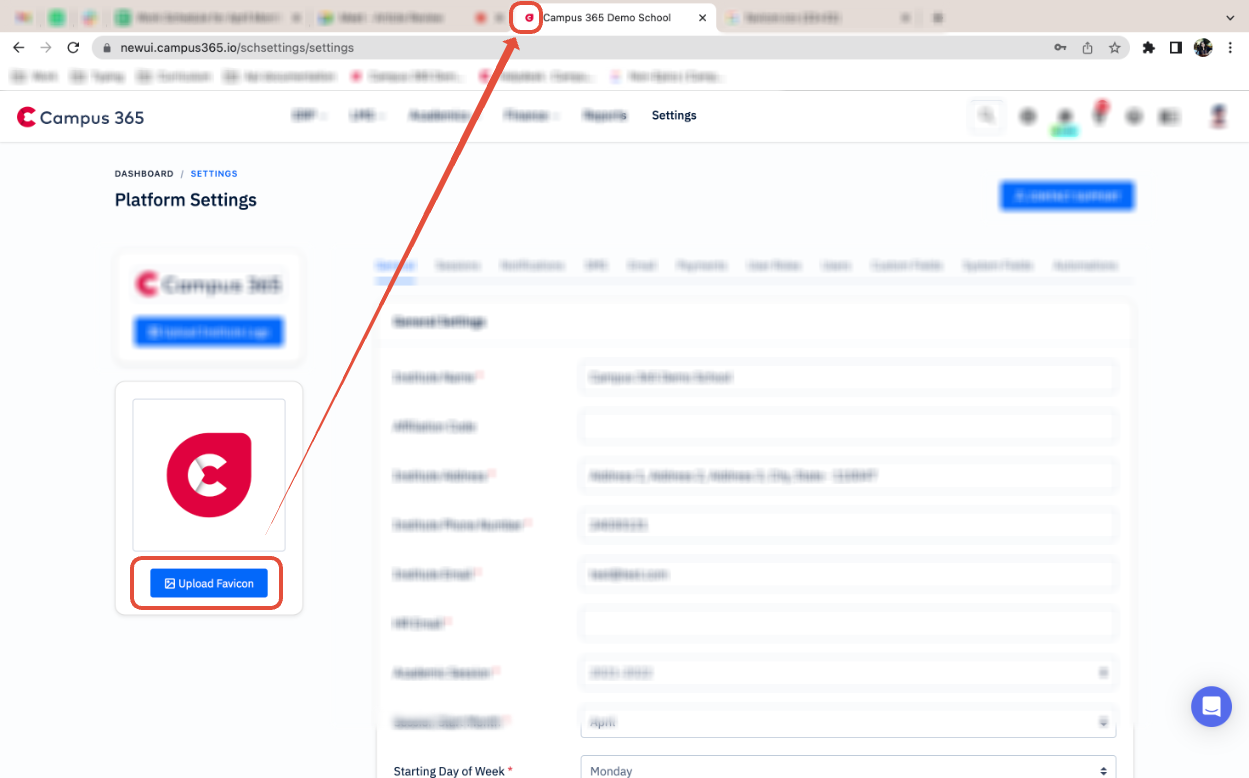
- Allowed file formats are JPG or PNG logo files with a maximum size of 1 MB. Ideal logo dimensions are roughly 32x32 pixels.

Institute Name
- The complete name of the institute. This name will be used across the platform and in the Fee and Billing receipt as well.
Upload Institute Image
- The image of the institute you can upload which will be reflected on mobile app when students will enter enter the institute id.
Generate QR Code
- Institutes can now generate a QR code for payment which could be shared across to receive payment. (Please note that payment gateway setup is important before receiving payment through QR code).
Address
- The complete address of the institute will be required.
Phone
- The default phone number of the institute where students and parents can reach out.
Institute Code
- The Institute code is the institute's affiliation/accreditation number.
Academic Session
- Set the current year's academic Session for the institute.
Session Start Month
- Set the starting month of the academic session of the institute.
Attendance Type
- Choose between Day Wise Attendance or Period Wise Attendance. Only one attendance can be enabled at a time.
Language
- Select the default language of the platform.
Date Format
- Set the date format as required.
Timezone
- Set the time-zone of the platform. The default time-zone is GMT+5:30.
Currency
- Select the ISO standard 3 digit currency code.
Currency Symbol
- Set the currency symbol according to the country.
Automate Admission Number
- This feature when enabled creates and assigns the admission number to the students automatically based on the set criteria.
Automate Employee ID
- This feature when enabled creates and assigns the employee id to the employees automatically based on the set criteria.
Teacher Restricted Mode
- Enabling this feature will restrict the teacher's access to all student's data. Class teachers can only access the information of the allotted class and subject teachers can access the information of only those classes for which they have been assigned as a subject teacher.
Fees Due Days
- Define the number of days after which a fee is set to be Due.
Duplicate Fees Invoice
- Duplicate Fees Invoice allows you to generate multiple copies of the fee receipt.
Custom Instructions for fee receipts
- This feature helps you define custom instructions for parents to display on the Fee Receipts. To know more about how to add custom instructions, we recommend reading about the Custom Instructions for fee receipts.
Enable GST/Tax For Fee
- Enable this feature if you want to collect GST/Taxes on the fee collected assigned to each student.
Work From Home Attendance
- This feature allows you to track employee's and teacher's attendance based on the time when login into the platform.
Auto Generate Room Number
- When enabled, this feature generates the Room number or Meeting ID for the Live Classes automatically.
Default Live Class Duration
- This feature helps you define the default duration of Live Classes. The default duration can be changed manually while creating the Live Class if required.
Enable Presenter Name
- When enabled, this feature allows you to add the name of the Presenter who will be taking the Live Class.
Show Salary Tax %
- When enabled, this feature displays the Tax (%) in the employee's salary slips.
Fine Calculation
- When the fine calculation is set to Flat, the system only calculates the defined fine amount for all the due days. When the fine calculation is set to Dynamic, the system calculates the defined fine amount for each due day.
Enable TC Generation
- When enabled, you will be asked for additional information while archiving a student required for a Transfer certificate.
Fee Collection Date Access
- When set to Admins & Accountant Users Roles, only users with these roles can collect the fee in previous date entries. When set to All Users, all the employees with Fee Collection permission will be able to collect t he fee for previous dates.
Fee Receipt Copies
- This feature allows you to print more than 2 copies of the fee receipt in a single A4 page.
Last Name in Lead Form
- With this feature, you can choose whether you want to have last name as Mandatory in Admission Leads web forms.
Email in Lead Form
- With this feature, you can choose whether you want to have Email as Mandatory in Admission Leads web forms.
Class in Lead Form
- With this feature, you can choose whether you want to have Course/Class field as Mandatory in Admission Leads web forms.